How to make a DIY decorative wine cork wall around a dart board.
We had a TON of wine corks sitting around that I’ve collected for years. I
didn’t know exactly what I was going to do with them, but I knew I’d come up
with something eventually.
DIY wine cork projects
before, but this is by far my favorite. The process for this DIY wine cork
wall is very simple, but definitely time consuming!
I laugh when I think about how I purchased a bag of corks online nearly 15
years ago (before my wine-loving days) for a craft project! Now we have
plenty. 🙂 I’ve saved them from wine nights, special dinners or fun trips
over the years.
I love the look of a cork wall, but then discovered one installed around a
dart board and thought that was such a smart way to use up the corks and
protect our walls.
Of course this cork project would make for a great accent wall on its own
as well!
months ago. This was one of my last to-do’s for
our basement kitchenette and bar
I’ve been working on for the past couple of years.
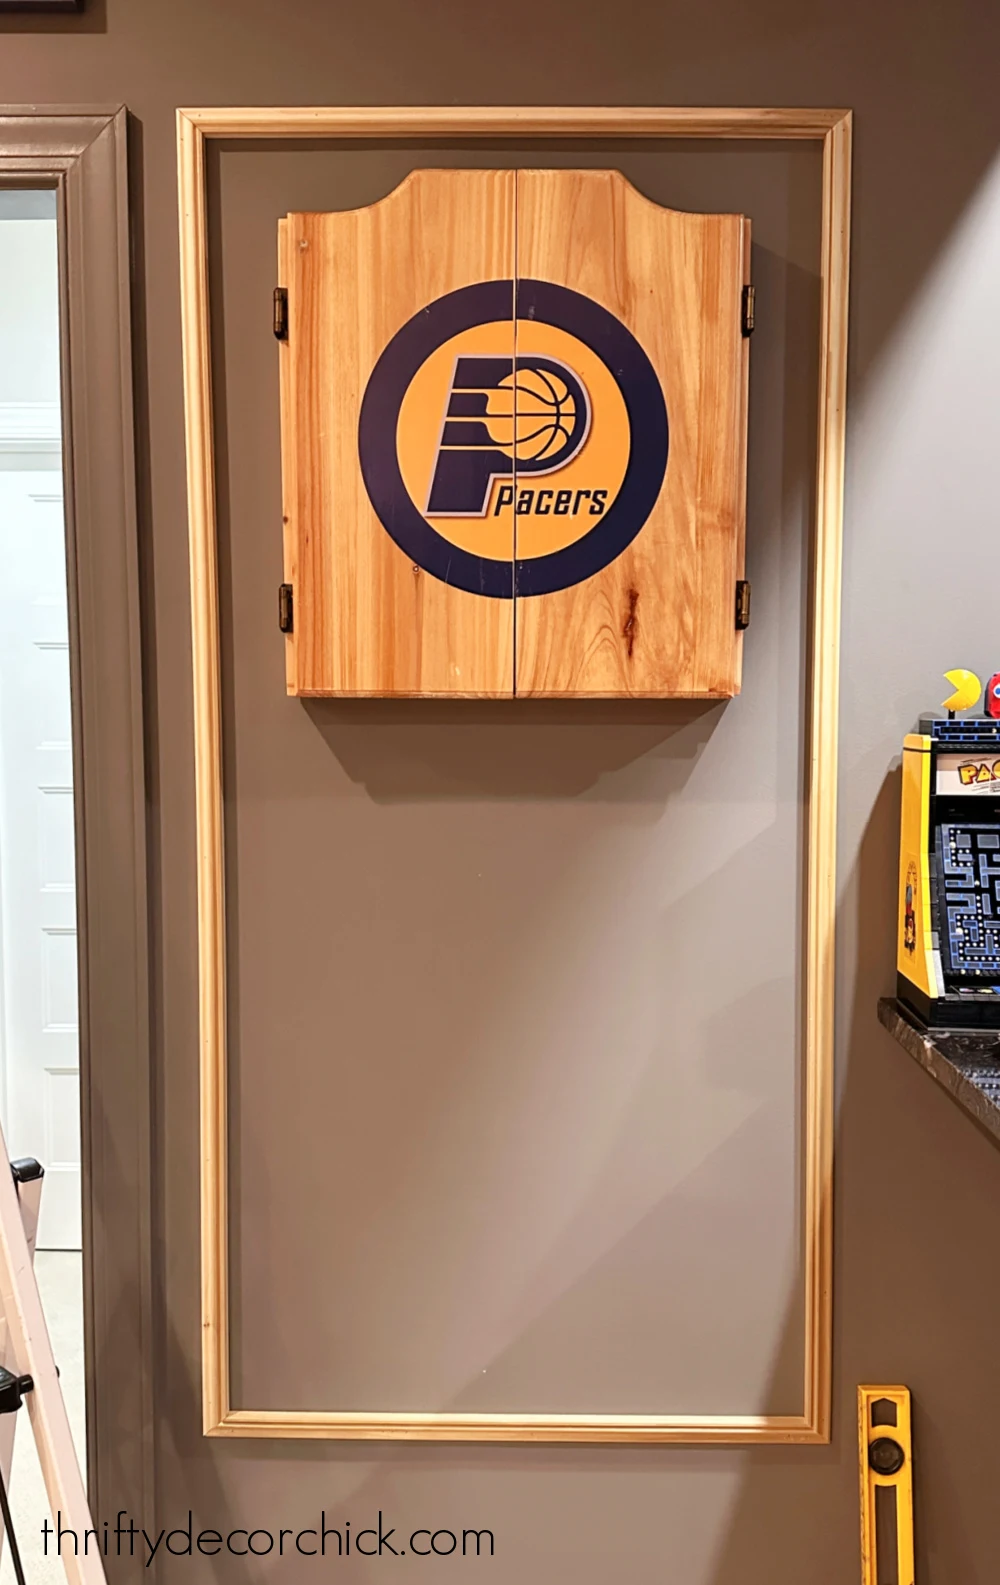
1. Make your frame on the wall
The dart board was such a pain to hang (I lost the instructions), so I
didn’t want to remove it. The middle of the dart board had to be hung at
specifically five feet, eight inches off the ground, so I was working around
that.
Since I wanted the wine corks to butt up against something, I found a
decorative trim that had a thin and thick side.
This post may contain affiliate links for
your convenience.
I may earn a small commission when you make a purchase through links.
If you don’t mind potential damage to your walls in the future, you can
move on to step three. I recommend my next step first though.
2. Cover the wall (if desired)
Again, this part would be easier to do without the dart board, but it wasn’t
too bad!
I used scrap wood to cover the walls inside the trim. This gave me a surface
to glue all of the wine corks to.
It doesn’t need to be perfect at all — you’ll be covering it! But this
prevents a lot of potential wall damage if we ever decide to take this
down:
I never use glue of any kind on our walls, to prevent drywall damage. I
learned my lesson years ago!
After the scrap wood was installed inside the framed area, I painted
everything to match the walls (Westchester Gray by Sherwin-Williams):
There are some gaps between the corks when you’re done, so I’m glad I did a
few coats of the dark paint.
3. Start applying your corks
It was finally time for the fun (but LOOOOONG) part!
You’ll want to decide on the look of your wine cork wall. At first I was
considering a fun design where the corks went both horizontally and
vertically. But after applying my first few I knew that would take.
literally. forever.
I also thought about installing the wine corks on their ends so you could
see the wine color.
But I realized I would need a ton of corks to fill this space if I
glued them that way. We had a lot of corks, but not that many.
So in the end, I went with the simplest design I could think of — just
installing them vertically across in the frame:
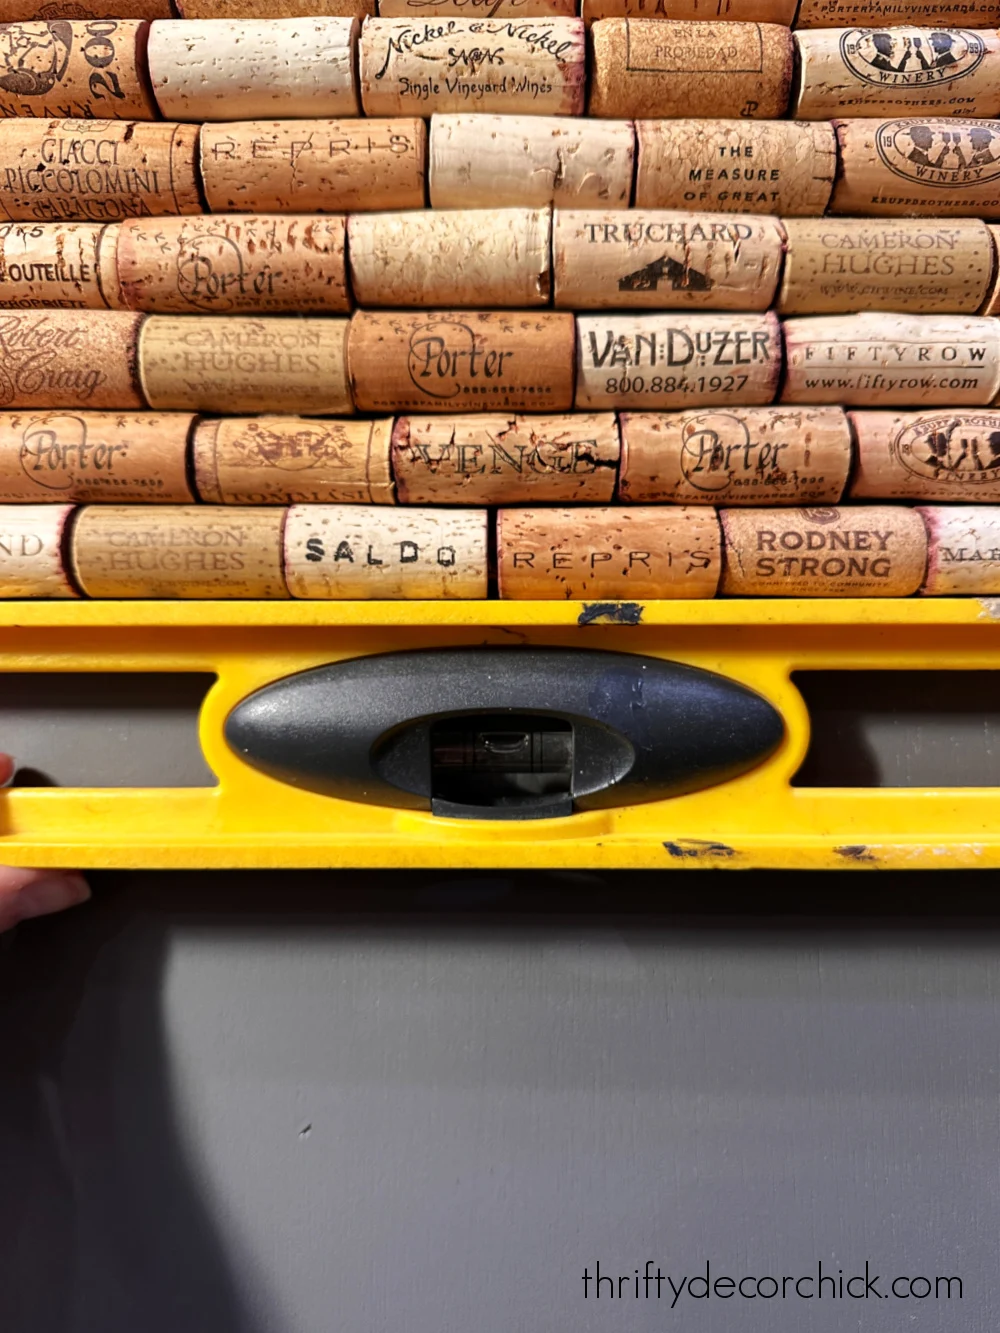
I made sure to check for level every few lines, although it still ended a
little wonky at the bottom. I found it was also helpful to eyeball
each line, since all of the corks were different sizes and
thicknesses.
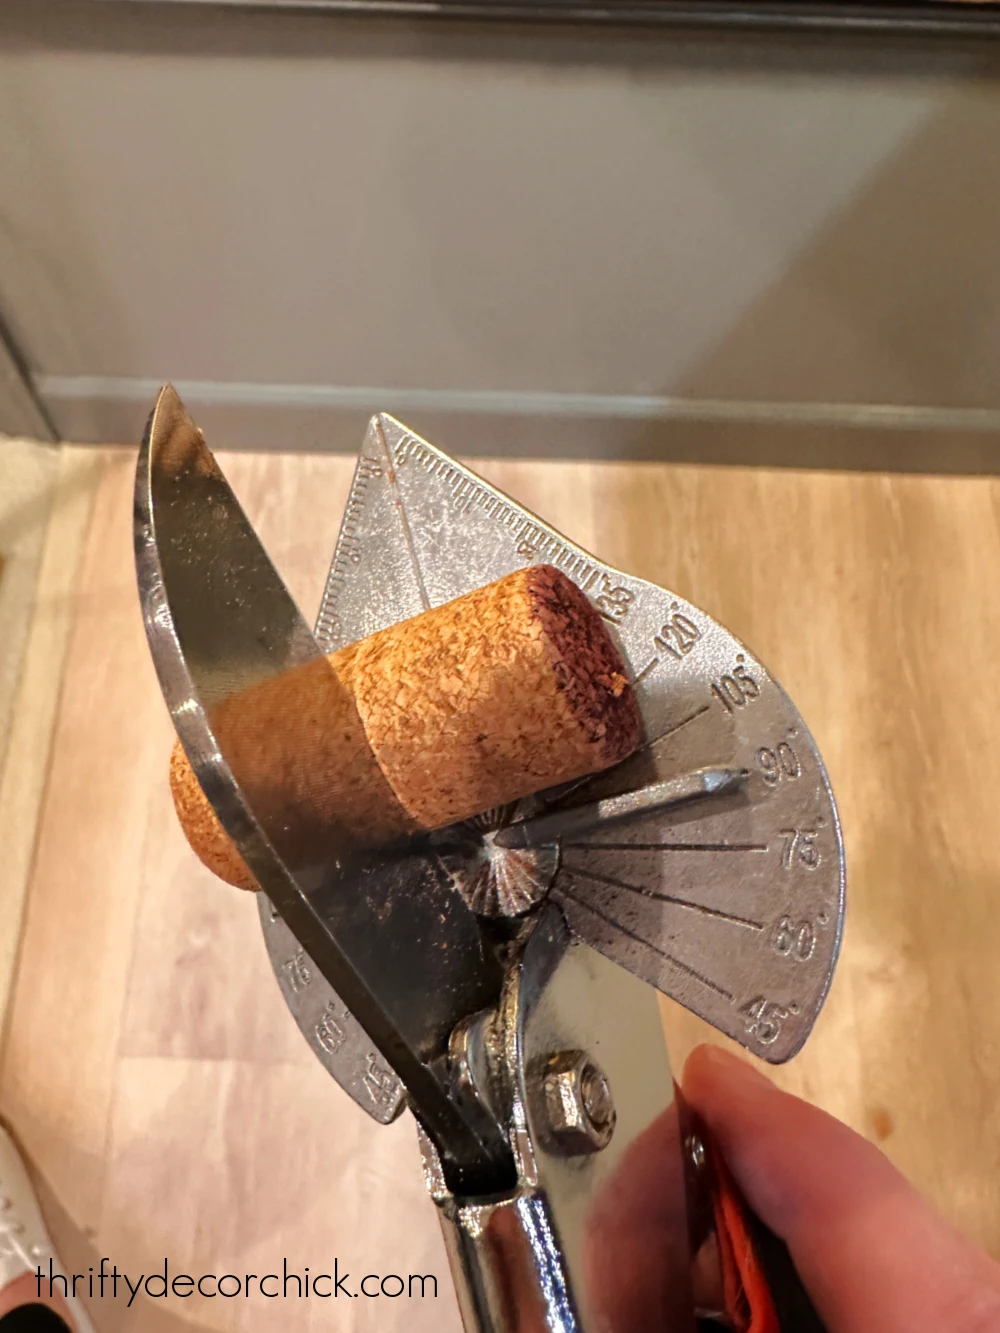
handy dandy
handheld trim cutter:
This sliced through each cork like buttah (even lengthwise).
This is not a quick project! 😂 It took me an hour or two a
day over three days to finish it up. But overall, it was very easy.
heavy duty hot glue gun
to attach them to the wall. The hot glue has held up beautifully, the corks
haven’t budged.
I started from the top with the corks and moved back and forth for each
line.
There was an open spot under the dart board I had to fill in, so I cut a few
corks lengthwise and glued them in:
It looks pretty seamless. I cut smaller pieces to fill in any empty spots at
the end of the rows as well.
I love that we can see some of the wine stained ends:
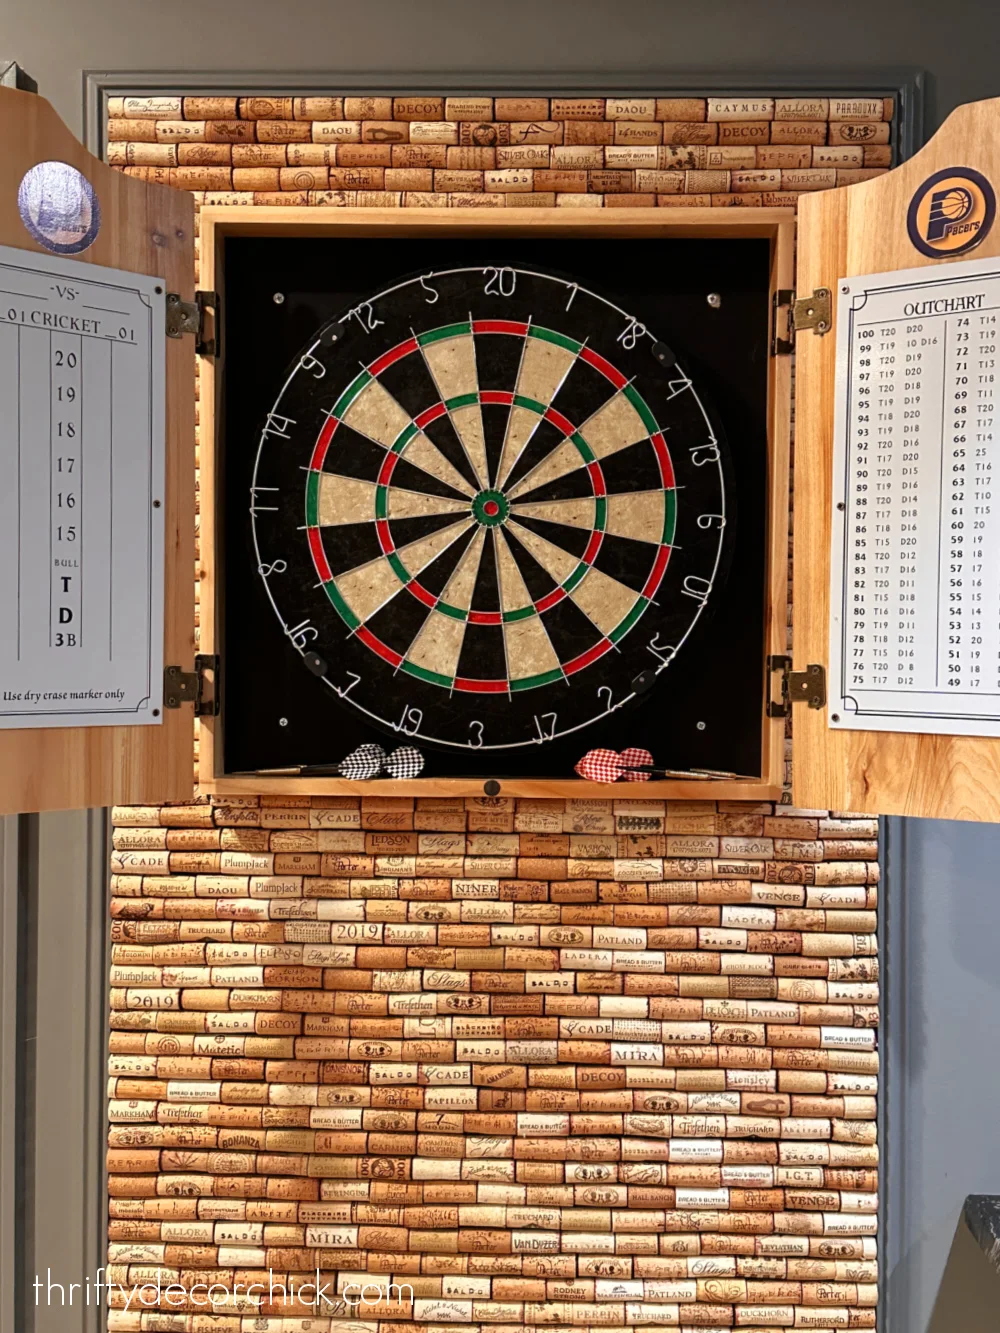
I absolutely LOVE how this turned out! It was worth the hours of gluing, and
gluing…and gluing:
I could have done a square shape, as I don’t see the darts hitting quite
that low most of the time. But I like that this makes more of a
statement.
This wine cork wall won’t catch every stray dart, but it will help. And it’s
such a fun decorative accent in our basement:
It was fun to go through the corks, so many brought back fun memories. I
tried to glue each one so the brand or logo was facing out.
Our wine cork wall behind this dart board measures about 30 by 60 inches and
I used well over 1,000 wine corks. (!!) Now you know why this took a few
days!
I wouldn’t have had nearly enough if I had glued them standing up on the
wall — I can’t even imagine how many that would have taken.
buy more wine corks online. I’d err on having more than you think you’ll need just to be safe.
Oh, and our basement bar is finished! I’ll share the bar that I built very
soon. So fun!
If I left out any details about this project, please let me know in the
comments.


